

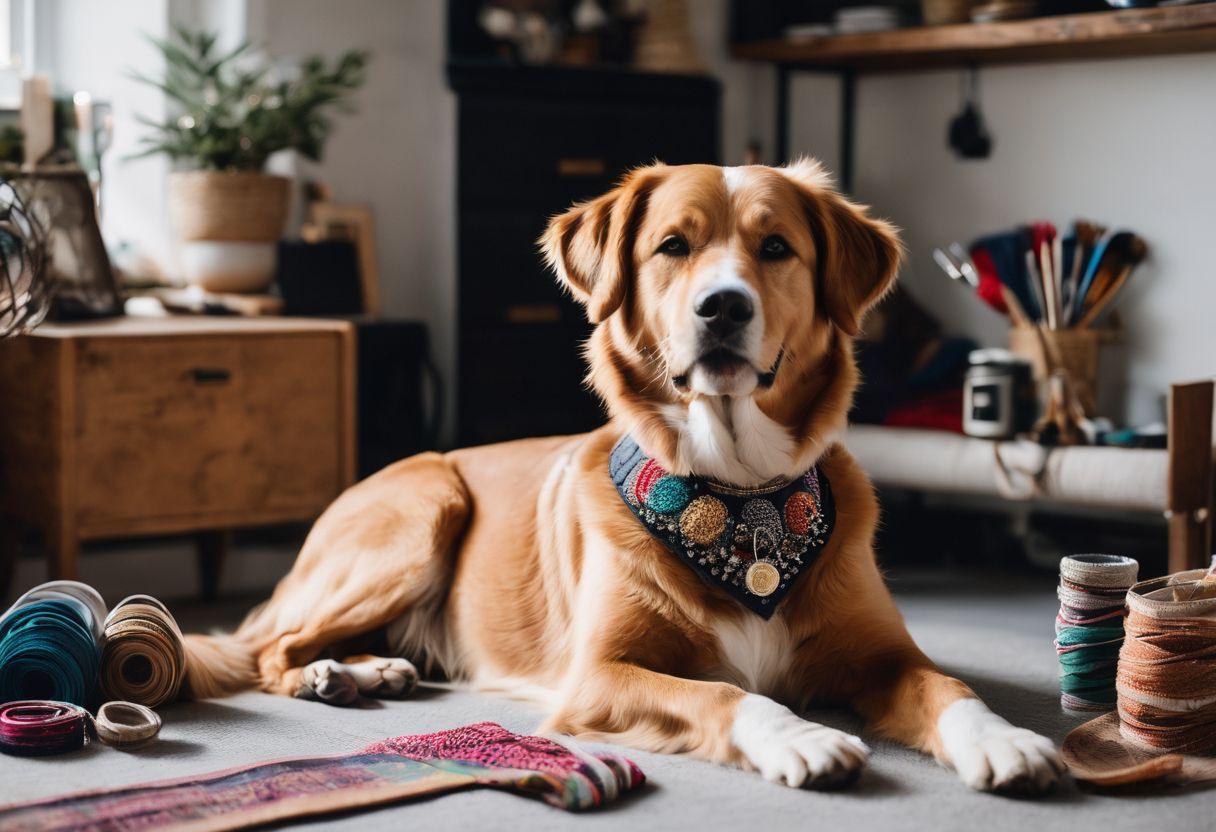
Finding a unique, stylish dog collar that suits your pet’s personality can be challenging. Did you know you could actually create a customized one from the comfort of your home? This article will guide you through making stylish, personalized dog collars from scratch in an easy-to-follow manner.
Ready to bring some DIY chic to your furry friend’s style? Keep reading!
Key Takeaways
- Making a customized dog collar from scratch can be an easy and fun DIY project.
- There are different types of DIY dog collars you can make, such as fabric, paracord, leather, friendship bracelet, and bling collars.
- To make a DIY dog collar, gather materials and measurements, choose a design or pattern, cut and assemble the collar, add personalization or embellishments, secure the hardware properly, and adjust for size.
- It’s important to use high – quality materials for durability and follow safety guidelines to ensure your furry friend’s comfort.
Types of DIY Dog Collars
There are several types of DIY dog collars that you can make from scratch, including adjustable paracord, fabric, friendship bracelet, leather, and bling collars.
Adjustable Paracord Dog Collar
You can make a sturdy dog collar out of paracord. First, you need to pick your color or pattern. Paracord comes in many different styles. To start, cut the cord two times longer than your dog’s neck size.
You also need a buckle for this project. Use the ‘cobra knot’ method to make this collar. This method is strong and looks good too!
Fabric Dog Collar
Making a fabric dog collar is a fun and simple DIY project that any dog owner can do. You don’t need to be an expert sewer or have fancy equipment. All you need is some fabric, a few basic sewing supplies, and your creativity! Fabric dog collars are great because they’re comfortable for your furry friend and can be personalized with different patterns, colors, and even their name.
With the right materials and following some easy steps, you’ll have a stylish homemade collar for your pup in no time. So get ready to unleash your inner designer and create a one-of-a-kind collar that your dog will love!
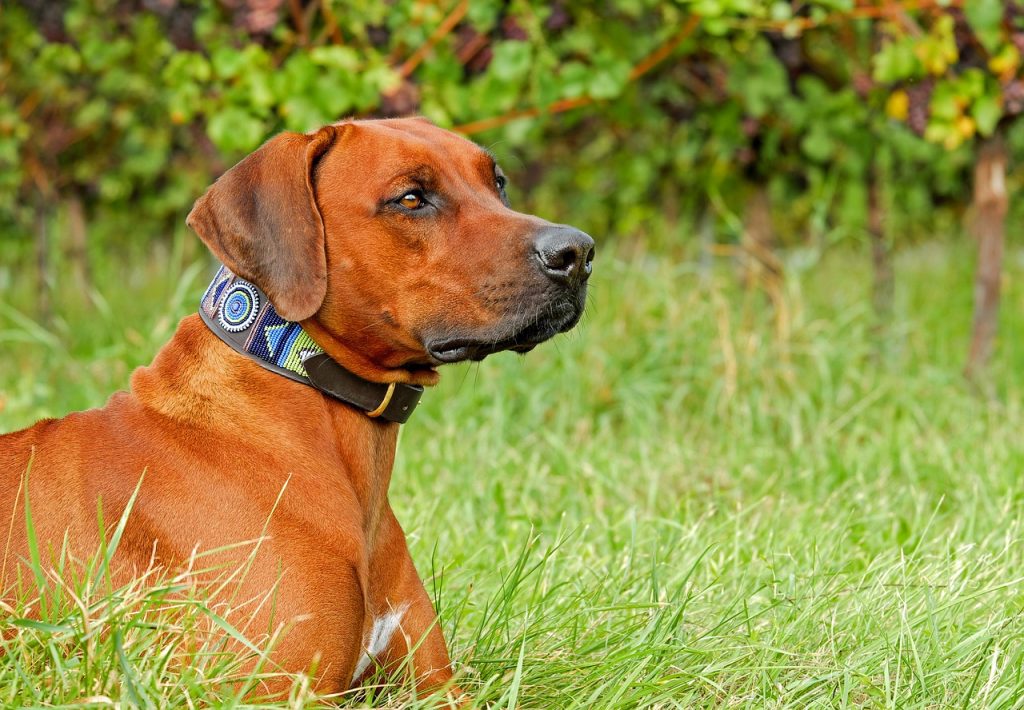
Friendship Bracelet Collar
Looking for a unique and stylish DIY dog collar idea? How about making a friendship bracelet collar? It’s a fun and creative way to personalize your furry friend’s accessory. You can choose different colors of embroidery floss to create intricate patterns or even add beads for extra flair.
Making a friendship bracelet collar is relatively easy and requires basic braiding skills. Plus, it will give you the opportunity to showcase your creativity while showing off your bond with your pup.
So gather your materials and start crafting this trendy collar that both you and your pet will love!
Leather Dog Collar
Leather dog collars are a stylish and durable option for your furry friend. They are known for their strength and longevity, making them a popular choice among dog owners. If you’re interested in making your own leather dog collar, there are plenty of tutorials available online to guide you through the process.
You can also find pre-cut leather strips or kits that include all the necessary materials. Keep in mind that when working with leather, it’s important to use proper tools and techniques to ensure a clean finish.
With a little patience and some creativity, you can create a one-of-a-kind leather dog collar for your beloved pet.
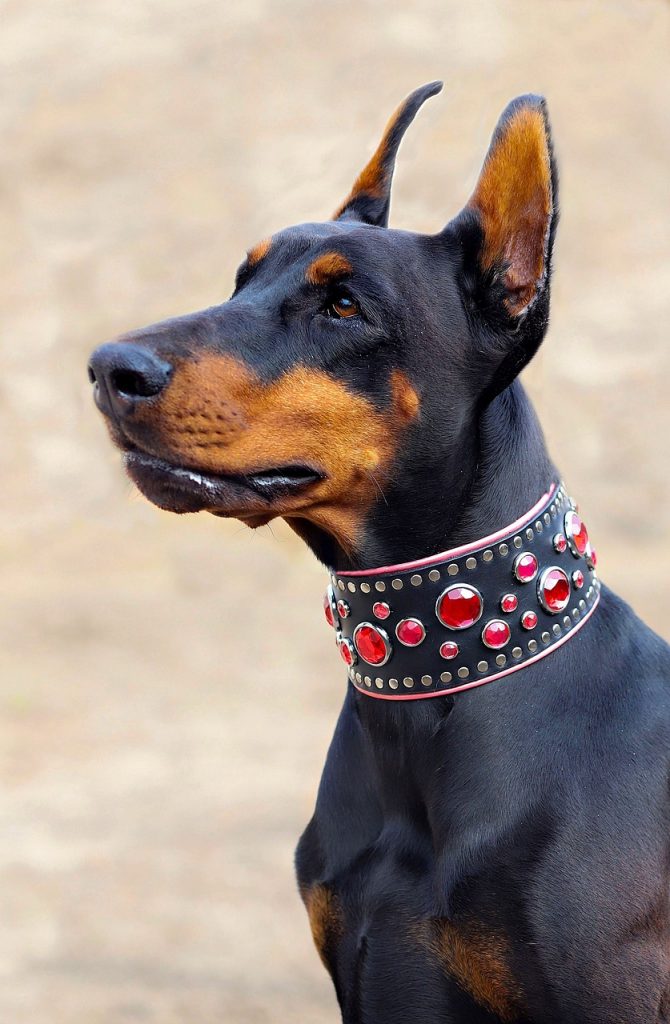
Bling Dog Collar
Looking to add a touch of glam to your furry friend’s wardrobe? A bling dog collar is the perfect choice! These stylish collars are adorned with rhinestones or other sparkly embellishments, making them stand out from the crowd.
Not only do they look fabulous, but they also help keep your pup safe and easily identifiable. Whether you want a simple design or something more extravagant, there are plenty of DIY options available online.
With just a few materials and some creativity, you can create a dazzling bling collar that will make your dog the talk of the town!
Step-by-Step Guide on How to Make a Dog Collar
To make a dog collar from scratch, start by gathering the necessary materials and taking accurate measurements for a proper fit. Then, choose a design or pattern and cut and assemble the collar accordingly.
Don’t forget to add any embellishments or personalization before securing the hardware and adjusting for size.
Gather materials and measurements
To make a dog collar from scratch, you’ll need some materials and measurements. Firstly, gather the materials needed for your chosen collar style – like fabric, paracord, leather, or friendship bracelet materials.
Measure your dog’s neck circumference using a soft measuring tape to ensure a proper fit. Additionally, decide on the desired width of the collar based on your dog’s size and comfort needs.
Make sure to have all the necessary tools such as scissors, sewing machine (if needed), and any embellishments or hardware you plan to use. With these materials and measurements ready, you can move on to creating your DIY dog collar!
Choose a design or pattern
To make a DIY dog collar, you need to choose a design or pattern. There are many options available, such as fabric collars, friendship bracelet collars, leather collars, and bling collars.
You can also personalize the collar with your dog’s name or add tags for identification. It’s important to consider your dog’s size and comfort when selecting a design or pattern. Don’t forget to take accurate measurements so that the collar fits properly.
Additionally, using high-quality materials will ensure durability. Get creative and have fun choosing the perfect design for your furry friend!
Cut and assemble the collar
To cut and assemble the collar, start by gathering your materials and measuring your dog’s neck. Then, choose a design or pattern that you like. Next, carefully cut the fabric or material according to the measurements.
After that, follow the instructions to sew or glue the pieces together. Finally, attach any embellishments or personalization you want and make sure to secure the hardware properly.
Add any embellishments or personalization
Once you have assembled the basic dog collar, it’s time to add some special touches and personalize it for your furry friend. You can make the collar unique by embellishing it with decorative elements like beads, buttons, or charms.
Choose ones that reflect your dog’s personality or your own personal style. Don’t forget to attach any tags or identification information so that your pet can be easily identified if they ever get lost.
Adding their name or a special message to the collar is also a great way to make it feel even more personalized. With these finishing touches, you’ll have a one-of-a-kind dog collar that will make your pup look chic and stylish in no time!
Secure the hardware and adjust for size
To secure the hardware for your DIY dog collar, make sure to use sturdy and durable materials. This will ensure that the collar stays securely fastened on your furry friend. Additionally, adjust the size of the collar to fit your dog comfortably.
You can easily do this by measuring your dog’s neck and adding a little extra length for comfort. By securing the hardware properly and adjusting for size, you’ll have a well-fitted and safe DIY dog collar for your beloved pet.
Tips and Tricks for a Successful DIY Dog Collar Project
Choose high-quality materials for durability, follow safety guidelines, take accurate measurements for a proper fit, personalize the collar with the dog’s name or tags, and test the collar for strength and adjustability.
Use high-quality materials for durability
To ensure that your DIY dog collar lasts, it’s important to use high-quality materials. By using sturdy fabrics and strong hardware, you can create a collar that will withstand daily wear and tear.
Choose materials that are durable and resistant to fraying or stretching over time. This way, your furry friend will be able to enjoy their fashionable collar for a long time without worry of it breaking or falling apart.
So don’t skimp on quality – invest in the best materials for a durable dog collar!
Follow safety guidelines for the dog’s comfort
To ensure your dog’s comfort and safety when making a DIY dog collar, there are a few important guidelines to follow. First, choose high-quality materials that are durable and safe for your furry friend.
This will help prevent any discomfort or injuries. Second, make sure to accurately measure your dog’s neck size before cutting and assembling the collar. A proper fit is essential for their comfort and wellbeing.
Additionally, you can personalize the collar by adding their name or tags, but be careful not to add any small embellishments that could pose a choking hazard. Lastly, test the strength and adjustability of the collar before putting it on your dog to ensure it is secure and won’t cause any harm.
By following these safety guidelines, you can create a stylish DIY dog collar while keeping your pet comfortable and happy.
In short:
– Choose high-quality materials for durability.
– Measure accurately for a proper fit.
Take accurate measurements for a proper fit
To ensure that the DIY dog collar fits your furry friend perfectly, it’s important to take accurate measurements. Start by measuring around your dog’s neck using a flexible tape measure or a piece of string that you can later measure with a ruler.
Make sure to measure snugly but not too tight. Write down the measurement and add an extra inch for comfort. If you’re making an adjustable collar, also measure the widest part of your dog’s head to ensure it can easily slip on and off.
These measurements will help you create a custom-fit collar that is comfortable and secure for your pup.
Make your dog’s collar extra special by personalizing it with their name or tags. Adding their name to the collar will not only make them feel unique, but it will also help others identify them if they ever get lost.
You can easily attach a small tag with their name and your contact information to the collar for added safety. There are also various ways to incorporate personalized designs or patterns into the collar, such as embroidery or engraving.
By adding this personal touch, you’ll create a one-of-a-kind accessory that reflects your dog’s personality and ensures their safety at the same time.
Test the collar for strength and adjustability
Make sure to test the collar you’ve made to ensure it is strong and adjustable. Give it a little tug to see if the materials hold up well. You want to make sure that it won’t easily break or come loose when your dog pulls on it during walks or play.
Additionally, check if you can easily adjust the size of the collar to fit your dog comfortably. This will help prevent any discomfort or choking hazards for your furry friend. It’s important to prioritize their safety and comfort when making a DIY dog collar.
Conclusion
Now you know how to make your own stylish dog collar from scratch! With a few simple steps and some creativity, you can create a personalized accessory for your furry friend. Whether you choose fabric, paracord, or leather, DIY dog collars are a fun and budget-friendly way to show off your pet’s unique style.
So grab your materials and get crafty – your pup will thank you!
FAQs
1. What materials do I need to make a dog collar from scratch?
To make a dog collar from scratch, you will need nylon webbing, a buckle, D-ring, sewing machine or needle and thread, and scissors.
2. Is it difficult to make a dog collar from scratch?
No, making a dog collar from scratch is not difficult. With basic sewing skills and following step-by-step instructions, you can create your own stylish and personalized dog collar.
3. Can I customize the size of the DIY dog collar?
Yes, one of the advantages of making a dog collar from scratch is that you can customize the size to fit your furry friend perfectly. Simply measure your dog’s neck and adjust the length accordingly.
4. Are there any safety precautions I should take when making a DIY dog collar?
When making a DIY dog collar, ensure that all materials are securely fastened and won’t pose any choking hazards for your pet. It’s also important to regularly check the durability of the material to ensure it remains sturdy for your pup’s safety.